
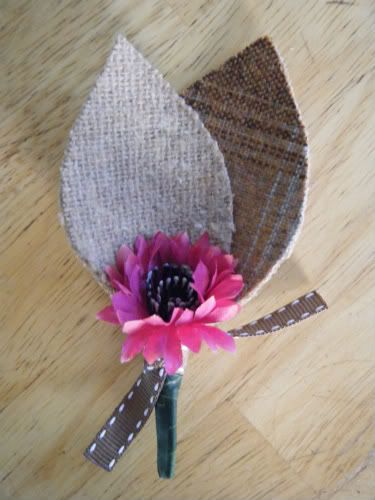
Quick and Easy DIY Fabric Boutonnieres!
These were a Top Ten Finalist in
The 2010 DIY Wedding Challenge at Project Wedding!
Materials:
2 Different Colored/Patterned Wool Fabrics (Scraps are fine, you won't need much.)
Iron-On Adhesive Sheet (Such as Heat'n Bond)
Ribbon
Floral Tape
Faux Flowers
Needle & Thread
Iron
Instuctions:
*Cut 4 pieces of the wool fabric into 3" x 4" rectangles. (You can either do two of each color, or 3 of the solid-ish, and 1 of the patterned - like I did.)
*Cut 2 pieces of the adhesive sheet into 3" x 4" rectangles.
*Following adhesive sheet's instructions - adhere 2 of the wool fabric rectangles together, like a sandwich, with the adhesive in the middle. Do this to the other 2 fabric rectangles too. (The importance of this step is to keep the fabric from fraying - without sewing - and to give it a little stiffness to stand up!)
*After the, now sandwiched, fabric has cooled - cut into a leaf shape.
*Position leaf shapes, one on top of the other, then turn slightly askew.
*Stitch in this position, along the bottom part of leaves, with a couple quick stitches.
*Then fold bottom corners of leaves (the part you just stitched) so that both corners are touching, in front.
*Stitch together the corners of the leaves at the bottom.
*Now, take a flower, snipped from the bunch, but still with a few inches on the stem, and slide it through the opening in the leaves, between the two corners you just stitched.
*Bend the stem in half, and tuch it back up towards the flower head and leaves.
*Wrap the Stem and bottom of the leaves with floral tape to secure together (This is where the previous stitching is handy, as it holds the leaves together for you to wrap them easily.).
*After stem is wrapped, snip a piece of ribbon, about 3", and tie onto stem.
*You're done!
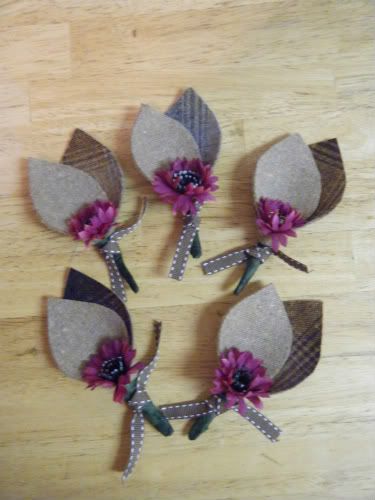
Once you've been able to fumble through the first one, the rest will be easy. I was able to whip out 5 in 1.5 hours (while watching TV, so plenty of distractions, too!).
Expense:
The over all expense for my project was low. I used fabric scraps, iron-on adhesive and floral tape that I already had. I bought ribbon for $1 from Jo-Ann Fabrics and faux flowers from Dollar Tree for $1 (the stem had 7 usable flowers on it). For $2 and a couple of hours I got DIY boutonnieres for our wedding!
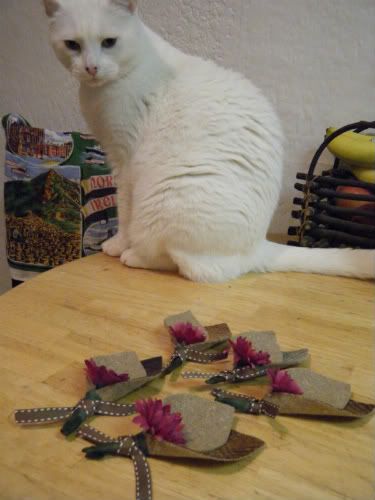
Mr. Shudders likes our Fabric Boutonnieres, too!
No comments:
Post a Comment